I have been very demotivated recently hence not productive with clay works. I tried to cheer up myself by thinking of a new project. Ever since I started playing with clay, I collected many mini items.

Tadda... This is my mini kitchen!

I wanted to do steamboat stuff on the dining table. Hopefully it will be filled with steamboat ingredients soon.

The kitchen cabinets are simple but awesome! It has got very useful compartments that I can store my mini pots and plates.
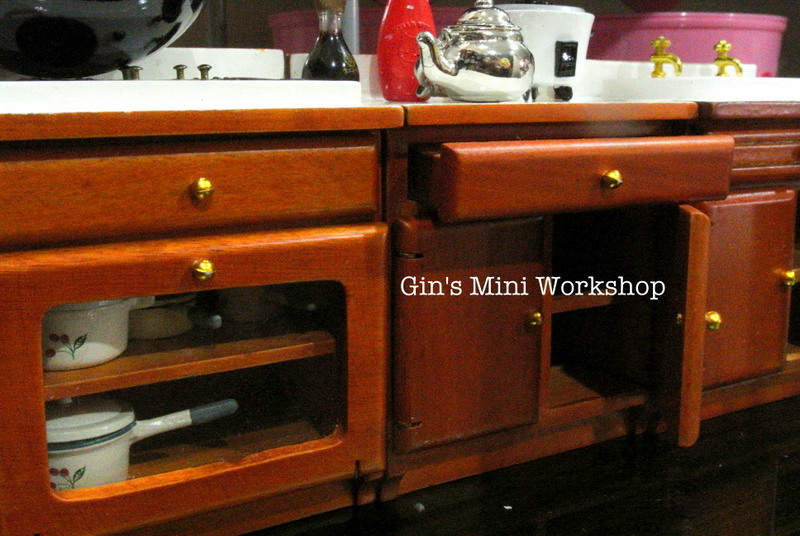
Can you see my pots inside the cabinet?

The basin is a bit small and shallow though.

I have got rice cooker, kettle, soy sauce and tomato ketchup in the kitchen.

A kitchen, especially a Chinese kitchen, is never complete without a wok.

Ya, I have had all the things I need in the mini kitchen but still... I don't feel like doing anything. Haiz... Talking about being emo... It can really make someone lazy! Instead of making steamboat ingredients, I decided to cheer up myself by making some mini dessert. What's more comforting than a piece of New York cheesecake?

All you need is some biscuit air-dry clay. What's biscuit air-dry clay, you may ask. Well, it's a type of light-weight and grainy clay which is used to make biscuits. Its texture is just perfect to give you that "pastry" effect.

First of all, lay the biscuit clay into a mould. In my case, I use a mini pan as my mould.

Now it's time to make some cheese. I add some yellow acrylic paint into the Modena clay. You may adjust how yellow you want your cheese to be.

After you have mix the colour evenly, just dump in the cheese into the pastry. Make sure the cheese is properly sticked to the pastry and remove the pastry from the mould.

With any sharp object like toothpick or pin, repeatedly poke the pastry until you get the desired effect/texture.

By using soft pastels, colour the edge of the pastry accordingly.

It's up you if you want it to be browner or yellower.

Next, colour the "baked cheese" with brown acrylic paint.

It's time to play with some cream clay now!

Use a spatula to spread the cream evenly.

According to the recipe, the cake is supposed to be garnished with shredded lime + lemon peels. I colour the clay with acrylic paints and then spread the clay thinly onto the glass. When it's about 50% dried, I cut the clay thinly with knife blade.

Now the lime + lemon peels are ready but how are we gonna stick it onto the cheesecake?

I mix the peels with clear AB glue.

Now spread the peels around the cake. Wait for it to get 50% dried before slicing it.

After slicing it, I use toothpick to poke the cheese to create the texture.

So now... My New York cheesecake it ready!

Would you like to have a piece of cheesecake with me?
No comments:
Post a Comment